Reports
SambaBox enterprise directory allows you to export data from your database as reports in various formats such as csv and xls.
You can get two types of reports in SambaBox. In general, getting a report is explained.
Report title editing and report printing are common in both report types.
Built-in Reports

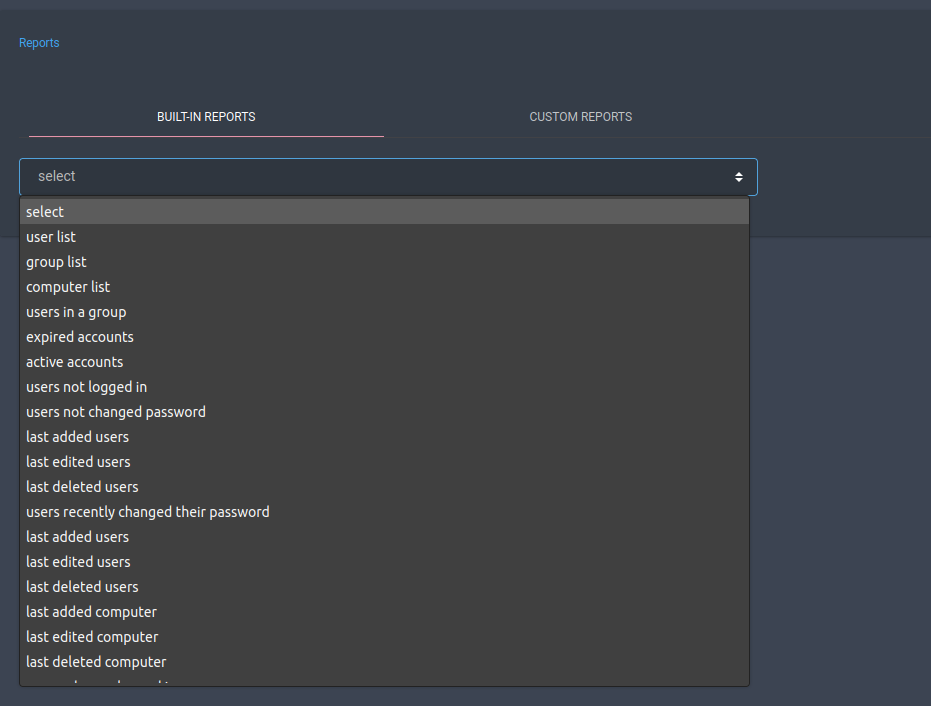
On this screen, you can select one of the frequently used reports from the list of reports prepared by default.
Process |
|---|
user list |
group list |
computer list |
users in a group |
expired accounts |
active accounts |
users not logged in |
users not changed password |
last edited users |
last deleted users |
users recently changed their password |
last added users |
last added computer |
last deleted computer |
users who are logged in |
last added groups |
last edited groups |
last deleted groups |
last edited computer |
users who are failed to login |
users who are entered wrong password |
users who are entered non existent user |
Custom Reports
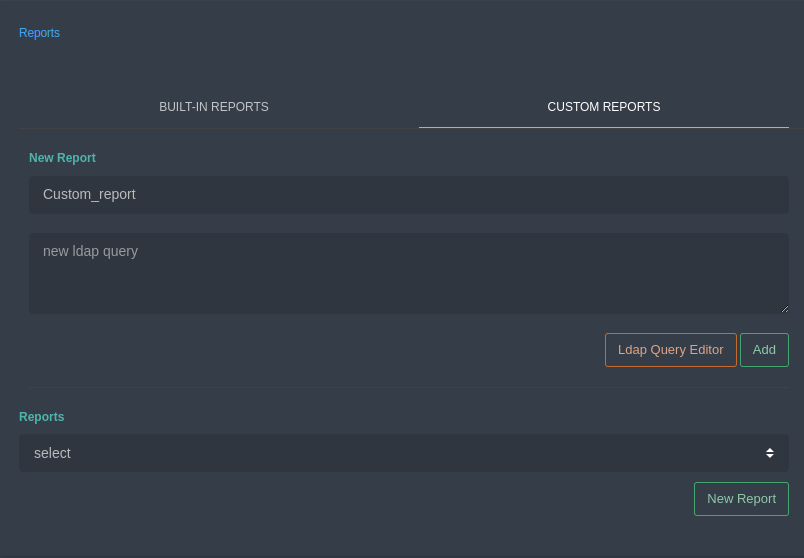
You can follow the steps below to prepare a custom report.

Press the [New Report] button on the custom report screen.

Type the new report name.

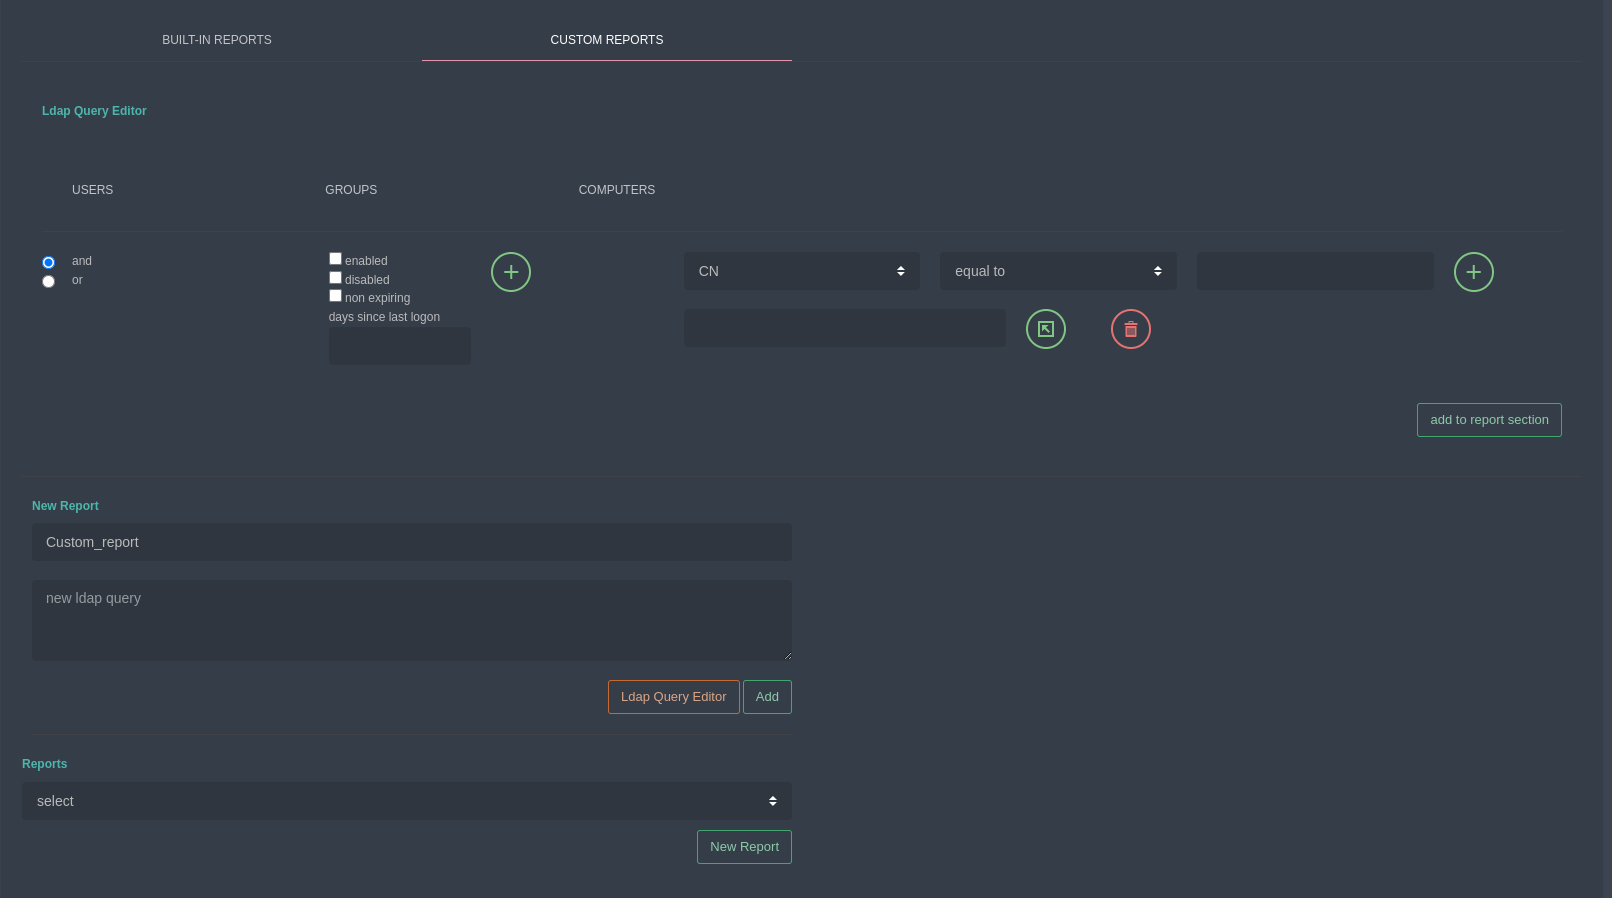
Press the [Ldap Query Editor] button.

On this screen, you can report users, groups and computers according to various criteria. You can perform searches for the report by selecting more than one criteria combined with and/or. You can search for the report by selecting the search criteria and pressing the [+] button, then the [Export to New Report Form] button.
Search criteria |
Explanation |
|---|---|
enabled |
Objects active in the domain |
disabled |
Objects disabled in domain |
non expiring |
Objects not expiring in domain |
days since last logon |
Number of days since last login (Must be minimum 14 days or password change period) |
Attribute |
Explanation |
|---|---|
CN |
Object name without specific information |
Department |
User’s partition feature |
Description |
User’s explanation definition |
DisplayName |
User’s display name |
Givenname |
User’s first name |
MemberOf |
User’s subscriptions |
Name |
User’s name |
samaccountname |
User’s login name |
User’s e-mail address |
|
mobile |
User’s mobile phone number |
sn |
User’s recognition name |
userprincipalname |
User’s name in form of e-mail address |
Note
- The criteria or attributes listed above;
same
not equal
starting with
ending with
there is
none
Enter the value for the attribute to be searched with selections and you can search by pressing the [+] button and then the [Search] button.
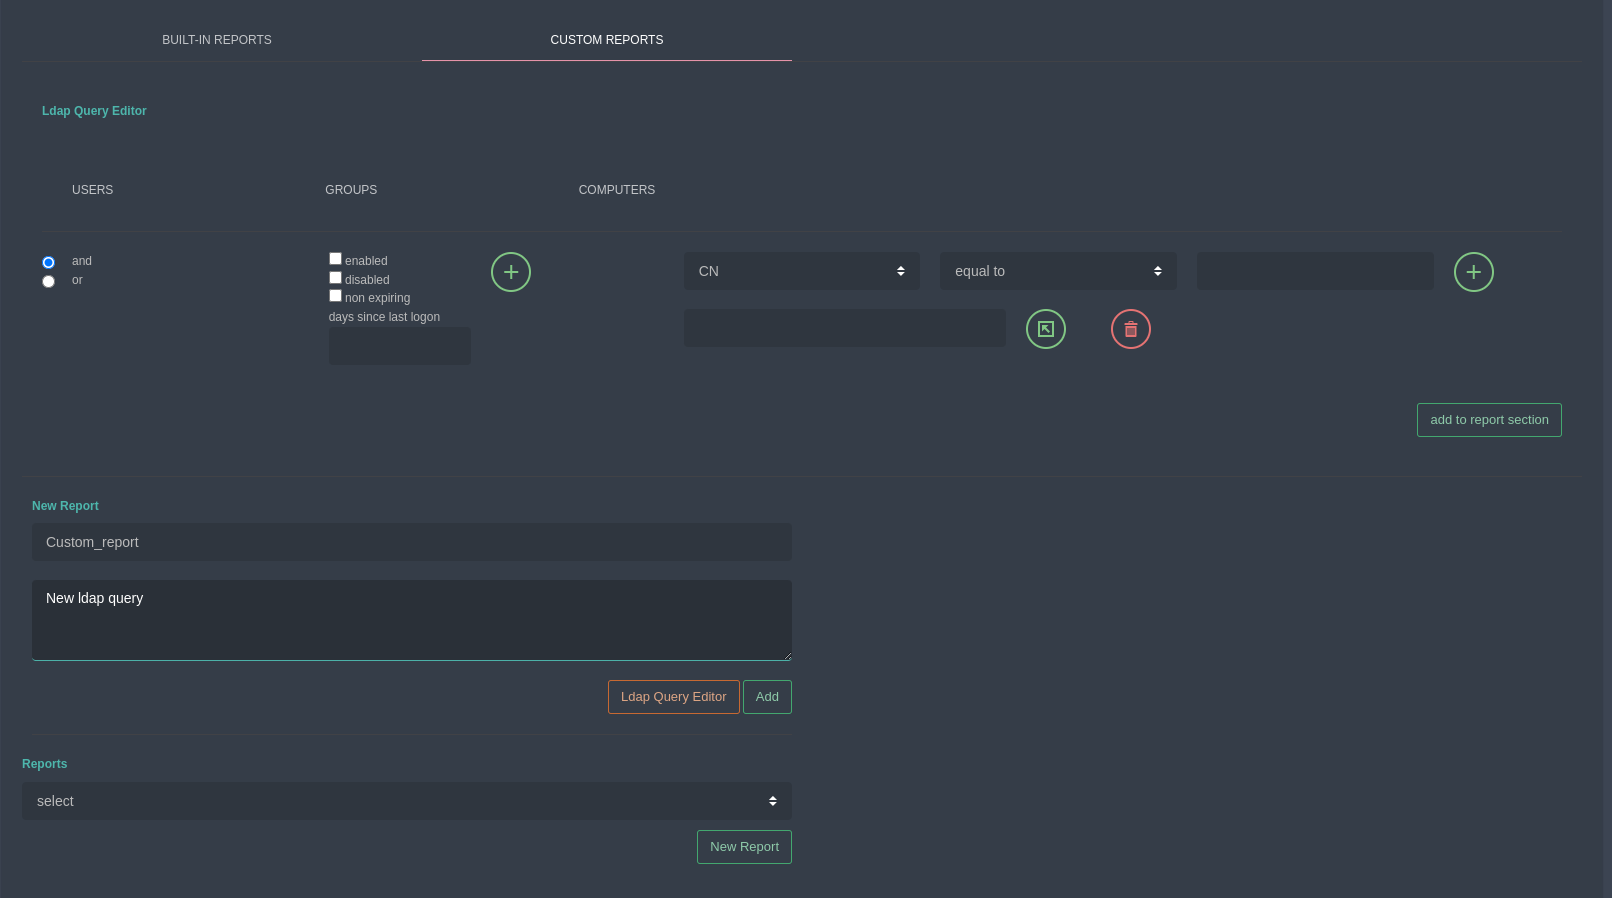
Press the [Add] button.
Select the report you created from the edit window.
Press the [Results] button.
Reports List Heading

On this screen, you can add or remove other attributes from the report titles prepared by default.
- Select account type (User-Group-Computer).
Select the attribute to add as a title from the attribute box.
Press the [Add] button to the report titles.
Press the [Save] button.
Hint
You can easily change the report titles as you want them to appear with drag / drop method.
Send Report via E-mail
Custom Reports can be sent to certain e-mail addresses at certain time intervals.

You can use this screen for reports up to active accounts.
When the days of the week are selected, which day of the week is selected in the selection field on the side and at what time the report will be sent on the selected day in the last optional field.
When the days of the month are selected, the day of the month is selected in the selection field on the side and the time at which the report will be sent on the selected day is selected in the last optional field.
When day of the week/sun/2am is selected, the report will be sent at 02 am every Sunday of the week.

From users who are not logged in, you can use this screen. On this screen;
The time from which the selected report feature will be valid is set.
The selection to be made from the date field is set in the report after which date the desired state occurs.
When the validity time is selected, the last number of days is set when the desired condition is met.
When the days of the week are selected, which day of the week is selected in the selection field on the side and at what time the report will be sent on the selected day in the last optional field.
When the days of the month are selected, the day of the month is selected in the selection field on the side and the time at which the report will be sent on the selected day is selected in the last optional field.
In this report, when the validity time is selected as 10, the events in which the desired situation occurred in the last 10 days will be reported.
In Special Reports;

When the days of the week are selected, which day of the week is selected in the selection field on the side and at what time the report will be sent on the selected day in the last optional field.
When the days of the month are selected, the day of the month is selected in the selection field on the side and the time at which the report will be sent on the selected day is selected in the last optional field.
When day of the week/sun/2am is selected, the report will be sent at 02 am every Sunday of the week.
Report Export

Select the organizational unit to receive the report from.
Warning
If you do not make any selection, the report will be issued for registrations in the whole domain.
Select the report output format.
Reports are created in XLS and CSV format. You can choose the one you want and download it to your computer.
Hint
If you want, you can add other attributes to the attributes shown by default. For this, enter a few letters of the attribute to be added in the attribute addition window and you can add it by selecting it from the list. You can remove it from the list later if necessary.
Warning
The search criteria and attributes listed above are for user searches. The criteria and attributes for group and computer searches may differ.